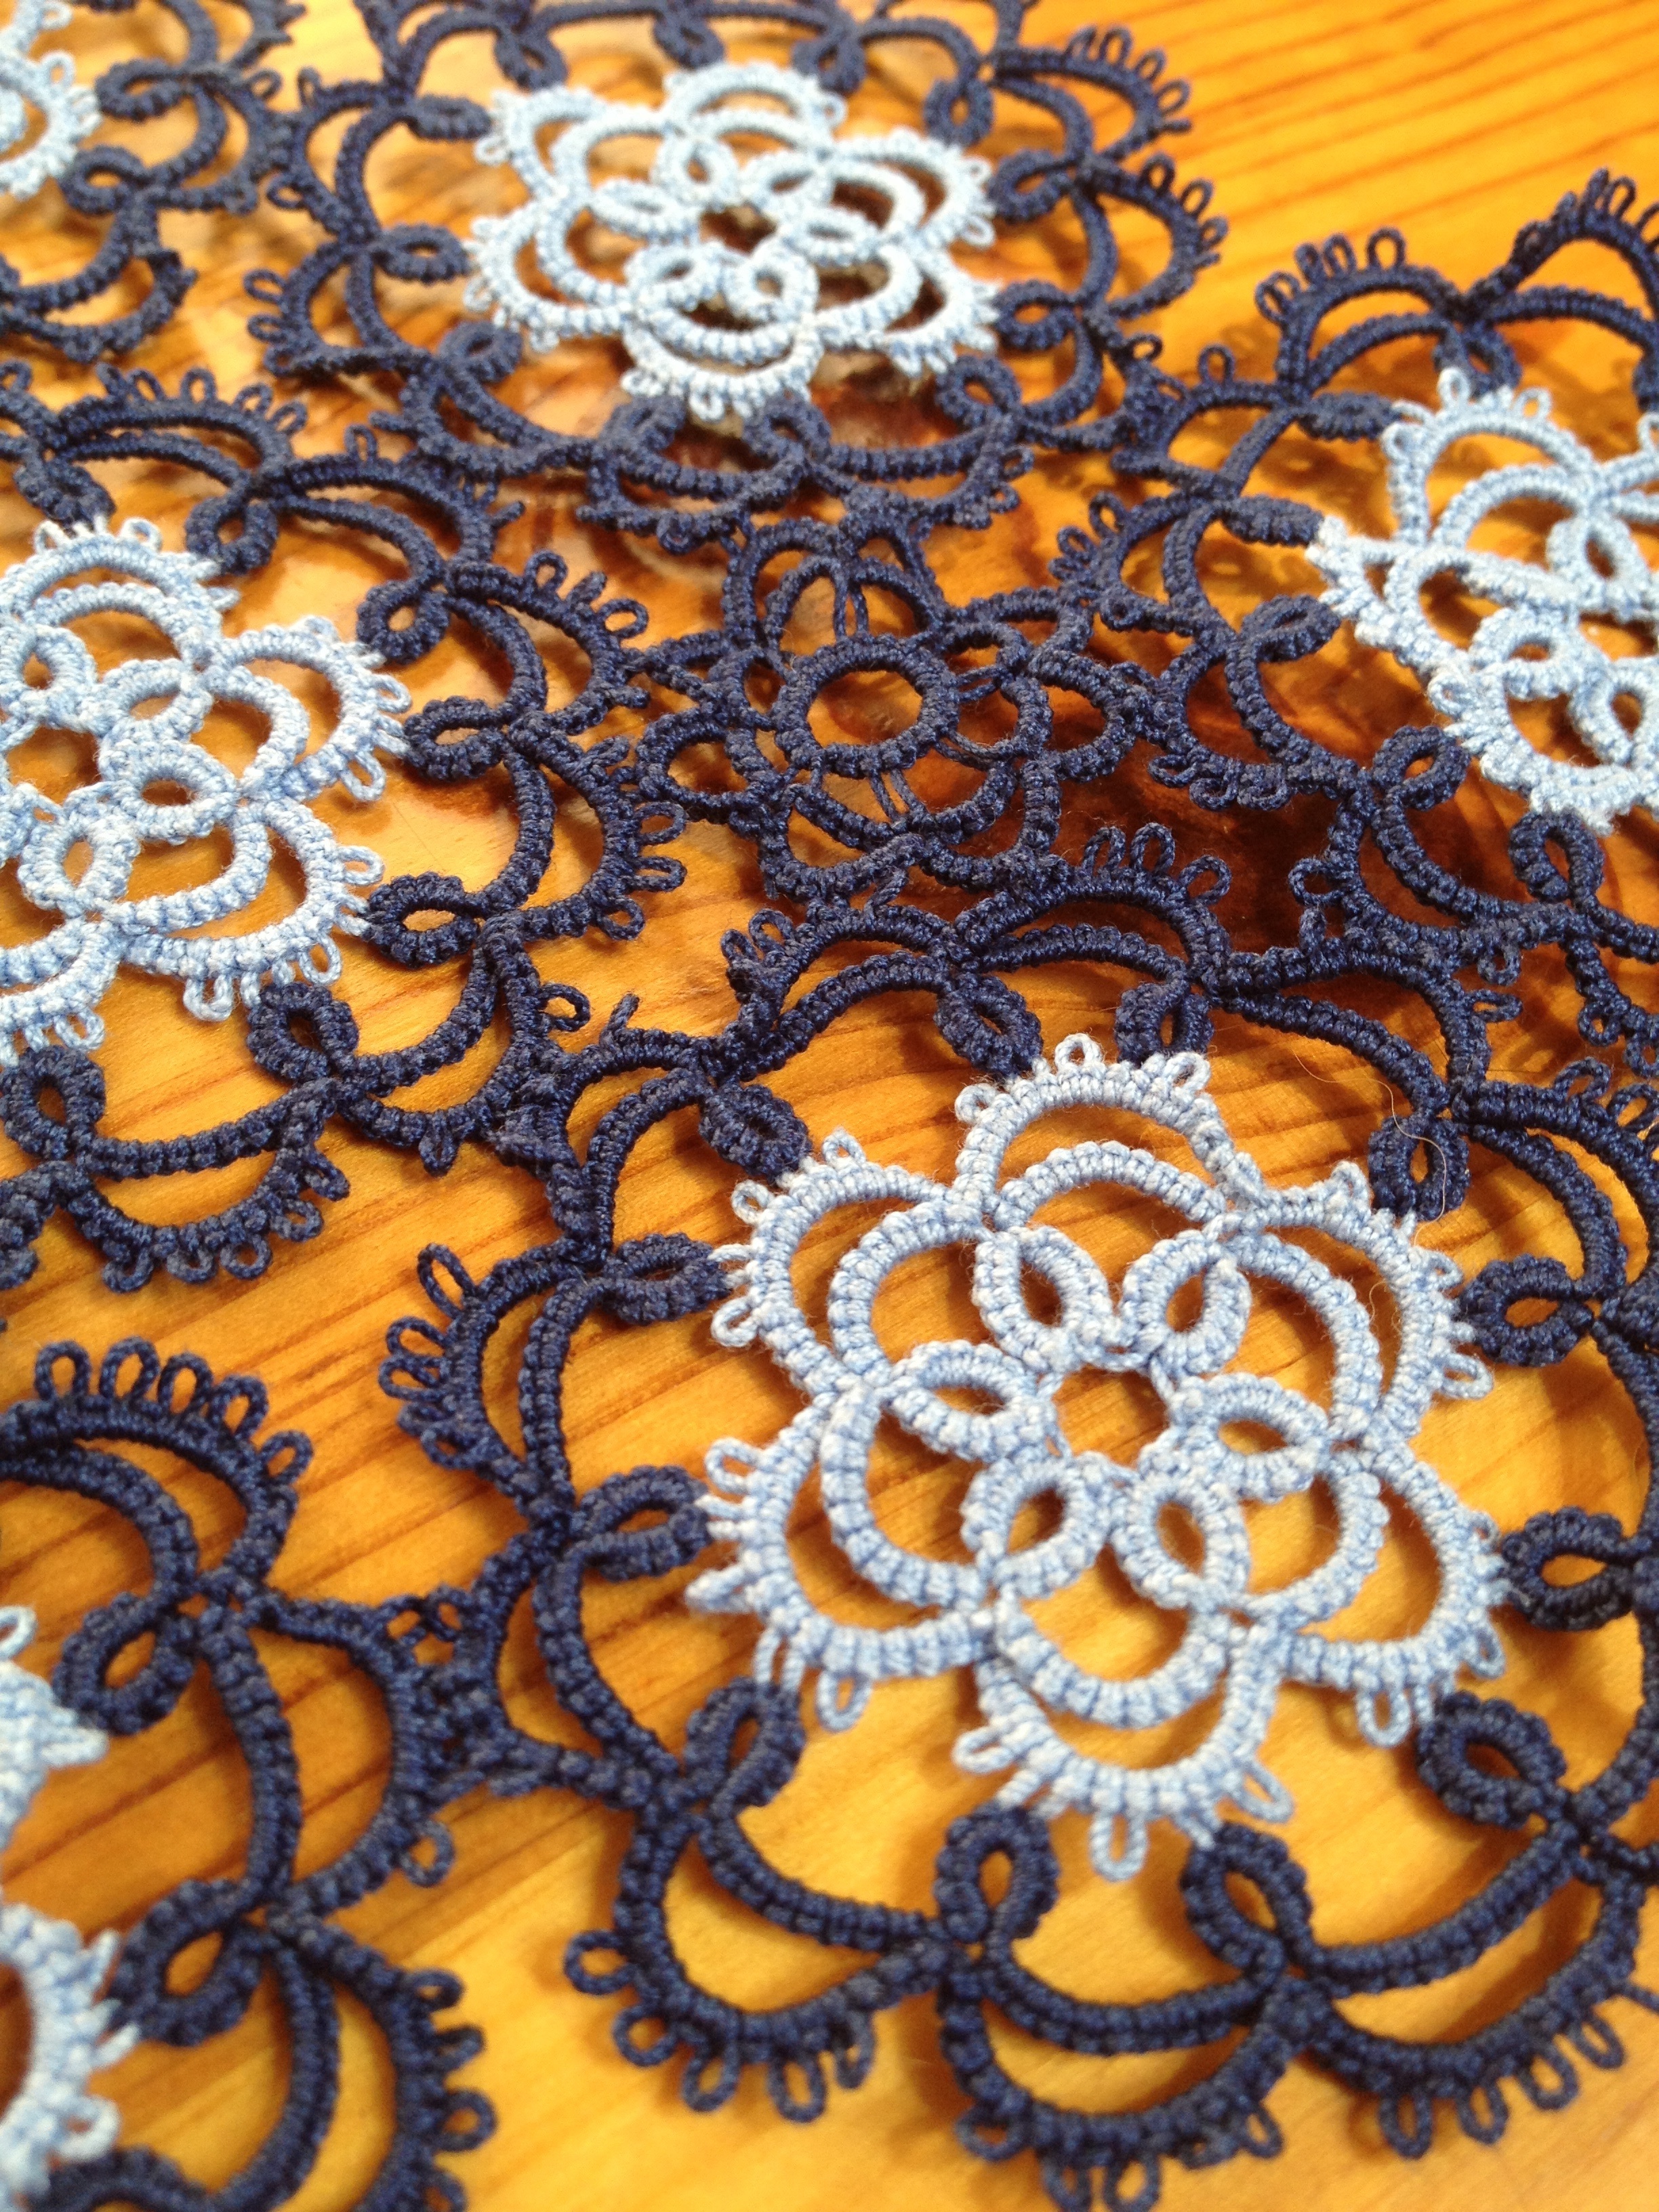
This weekend I made what is I think the 6th attempt at this doily and it’s finally laying flat. Â It’s a pattern from Priscilla Book #1. Â It’s not done yet. Â There’s another 3 rounds, but I think this version finally works.
To make it work I had to make quite a number of changes to the second round. Â That seemed to be the one that was messing everything up.
I did make one other change. Â The first, third and the motifs of the 4th round all called for the stitch count to be two and a half stitches in between every picot. I found that to be strange looking and annoying to do, so I made it 2 between them all. Â You might say, “Hey, if you go messing with a pattern like that you can’t be surprised when the rest doesn’t work as written.” Â In fact, it actually should have helped with the pattern. Â The problem I had with the second round was that it was just too small to fit around the first. Â Making the first round smaller should have helped with that.
What actually seems to be making the difference is picot size. Â In modern day we tend to make our joining picots smaller. Â In fact I think we often learn that they are best if they can’t be seen at all. Â Back in the early 1900’s it was the exact opposite. Â Picots were accented, (I think to make the pieces look more lacy), and joining picots were not done any differently than the others.
One of the reasons why it took me so long (and so many tries) to figure this out was because I was first tatting from my print outs from the Antique Pattern Library. Â Either it was the lack of ink in my printer or just the quality of the scan, but I had trouble seeing the picots and how it was joined together. Â The instructions were no help as they just tell you to join as shown in the picture. Â That’s a pretty common instruction in the books, unfortunately. Â It wasn’t until I pulled out my original copy of the 1909 book and looked at the pictures that I could see what was causing the trouble and where the joins should be.
It was actually a very nice reminder of why I’m doing this project of rewriting the patterns from the Priscilla books in the first place. Â I really want these patterns to be saved and used and there’s just so many strange things like picot size that make them difficult for modern tatters to figure out.
I have a couple big orders in my Etsy shop to work on this week, so I may not get to this piece until the weekend. Â Too bad. Â I’m so close now and after having worked so hard on the first couple rounds I’m very excited to finish it.


 Last year when I was at Camp Wannatat someone (I wish I could remember who) showed us a piece of tatting they’d done with ribbon. It was a very simple snowflake, but because of the size of the ribbon it came out very big for the pattern. I took a few minutes yesterday to try it out myself, but mine did NOT come out anywhere nearly as nice. So I wound the entire spool of ribbon (one of the 50 cent spools from Michael’s) on to a Tatsy shuttle and just played around with making simple rings.
 I think the reasons it didn’t work as well are probably partly because of my choice of ribbon and partly just because I need more practice. The ribbon she had used (if I remember right) 3/4 of an inch wide and a smooth cloth. This one was cloth but much smaller (1/4 of an inch) and with a little picot-like edging. I thick the picot-like edging made it too busy. If I were to try it again sometime I’d use an edging-less ribbon in this same size and a larger ribbon as well. It was an interesting little project and a nice little 30-minute experiment. I’m not in any rush to starting making much in ribbon at the moment, but I may try it again sometime. Here’s the rest of all the other little rings I made.