Archive for December, 2011

Lacis!

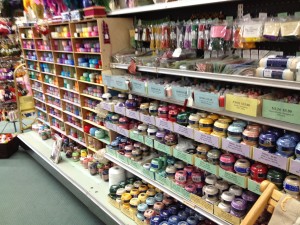
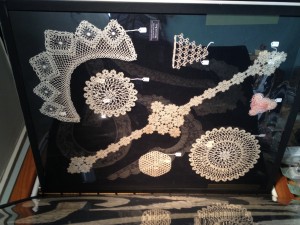
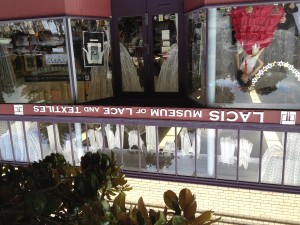
Huh.  Well, for some reason I can’t get the picture to display right-side up (it was originally taken with my cell phone), but I’ll post it for you anyway.  Last week I drove up from San Diego to Seattle and of course, I HAD to stop at Lacis in Berkeley on my way through the Bay Area.  I wanted to stop at the Lace Museum  in Sunnyvale as well, but the timing didn’t work out.  I got up to the Bay Area too late and they were already closed for the day.  I kept driving north to visit with friends and stopped by Lacis the next day on my way back to the I-5 and the rest of the drive.

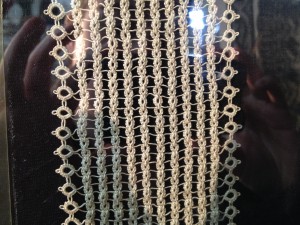
Made it up to Seattle on Friday night which meant I got to go to the Lace Guild meeting in Kent the next day.  I’m looking forward to being around Seattle more in the future and getting to make it to more of these meetings.  I’ve done some tatting in the last week and I’ll post about it in the next few days, but I’ve still got a bunch of unpacking and organizing to do so for now I’ll just leave you with some more (un-orientated) pictures from Lacis.

In the picture above is a very familiar motif.  The square piece is made up of the same motif that I’m making my shawl out of.

Leave a Comment

Motif in Yarn

Here’s the finished motif in yarn for the belt.  I really like these colors and love the way it came out.  Overall it wasn’t too hard to tat with the yarn.  I definitely had to watch as I made my stitches to make sure I tatted a bit more loose than usual, especially on the rings, but that wasn’t much of a problem.

I’m not sure yet what the main length of the belt will be.  I may just decide that I want to do the whole thing in a ribbon that hooks on the motif and goes all the way around to tie in the back, but I’m still partial to doing some more tatting.  Just waiting until I see an edging pattern that I think goes well with this motif.  The dress is a darker and more purple shade of the coral color in center and I’m thinking that doing the rest of the belt in that center color would look good.

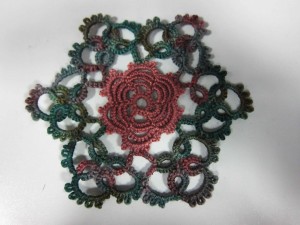
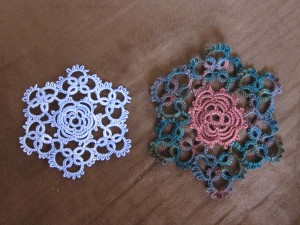
Here’s the two pieces next to each other for comparison.  The piece in thread is size 10.

I’ll be taking a small break from tatting and blogging over the next week as I’m packing up to spend the next month and a half in Seattle.  I’ll be driving and leaving early next week.  I should get up there by the end of that week and will be staying until the very beginning of February.  Looking forward to the time up there.  Should be able to make it to at least one of the lacer/tatters meetings in the area.

Comments (4)

Yarn and Chains. A Perfect Combination.

One of the things I like about this pattern is that it’s mostly chains.  I figured this would work well for tatting with yarn because it’s means you mostly work off the ball and don’t need as much on the shuttle.  Also there are no rings to close or to open if you have to retro-tat.  It went pretty smoothly and I pretty happy with the pattern so far.

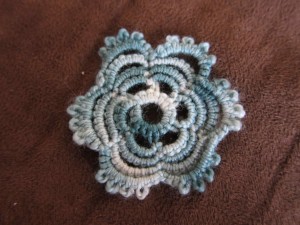
This first little motif is just the center and I plan to just put a jump ring on it and call it a necklace pendant.  The next step is to tat it again in the final yarn and to add the second round.  The finished piece will be a large motif that will be the focal piece of a belt in yarn.  I got this thread specifically to match a semi-new knit dress.  The dress came with a thin little belt, but I wanted something that would stand out more and I think this will do the trick nicely.  So next up, I tat this center part again and add the next round.

I tried using one of the new wooden shuttles I bought at Shuttlebirds.  This is the first time I’ve ever felt the need for a shuttle winder.  I know they make winding faster, but I’ve never really minded winding my shuttles, but winding the yarn on the wooden shuttle seemed to pull the yarn pretty significantly.  It’s such a nice tight shuttle I couldn’t figure out a way to wind it without pulling on the yarn and so it’s wound on the shuttle under some stress.  I didn’t notice this so much with the Tatsy shuttle. Felt like this was something a shuttle winder would help with.  The sides would still be just as tight, but I think it would help some with the angle and how hard I pull the thread to wind it.

Comments (1)

Prototype Finished!

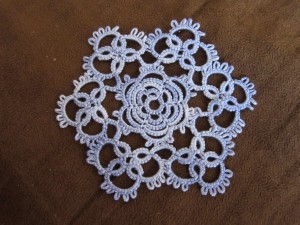
The first step to making my tatted yarn belt is to make the focal piece in thread.  It’s a motif from one of the Priscilla books that I hadn’t done before, but had seen recently on a couple blogs.  I thought it would look lovely done in yarn as the front part of the belt, but first I had to try it in thread.  My usual mode of operation when trying out a new pattern from the Priscilla books is to tatting it first in size 10 exactly as the instructions say and see how it comes out.  From there I can start to make changes or adaptations, but I like to have that first version to start with.  To make this one I use some of the thread I dyed a while back. I like the way it came out.  Especially the variations in color in the rosette part.

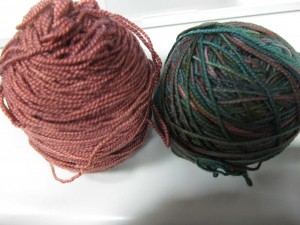
The next step to to try out the center part in yarn.  I think it will go well.  I’m going to make it in a variegated green that I already have wound on a shuttle, but to the right are the colors that the final piece will be made of.  I plan on using the coral color for the center and the green-based variegate for the outer part.

Comments (3)